

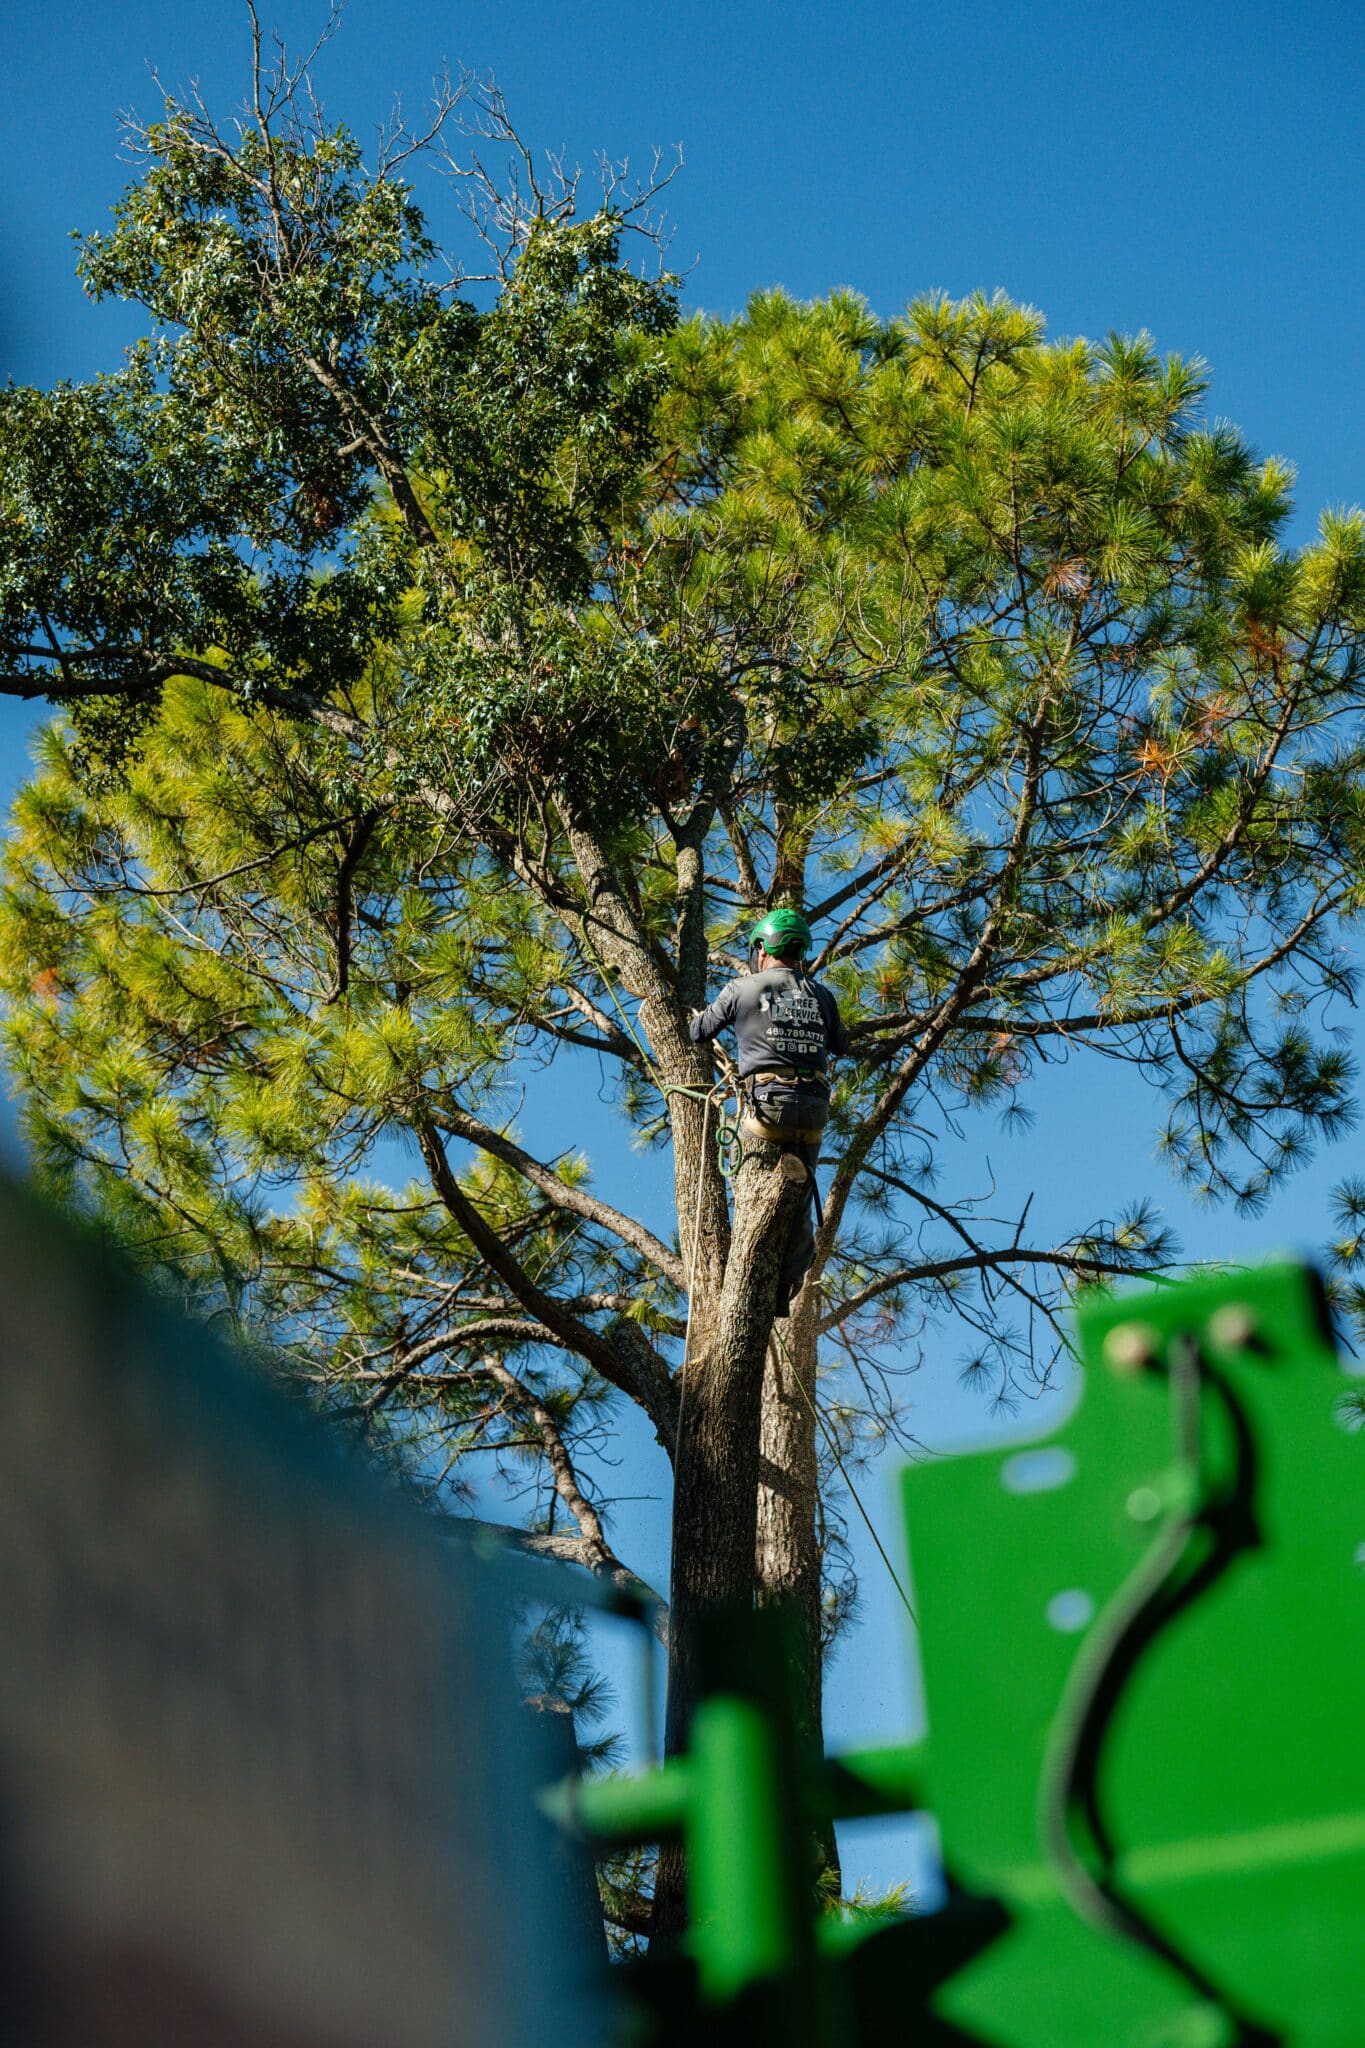
Crown Gap Smoothing for Even Light and Airflow
Key Takeaways About Crown Gap Smoothing
Crown gap smoothing is the selective blending of uneven canopy openings using small precise cuts to improve light and airflow. This guidance is for homeowners and property managers who notice shade pockets or lingering moisture that affect tree health and landscape use.
- Identify bright spots and deep shadow pockets in the canopy
- Prevent over-thinning by favoring small selective blending cuts
- Avoid removing major scaffold limbs during smoothing work
- Spot lingering dampness mildew or reduced airflow under trees
- Reduce fungal risk by opening airflow channels with targeted cuts
- Plan staged follow-up visits to maintain balance and tree strength
Introduction
Crown gap smoothing targets uneven openings in tree crowns that block sunlight and stall airflow. When gaps sit irregularly, lower branches stay shaded and inner foliage can stay wet longer after rain. That creates weak growth patterns and can invite pests and fungal issues over time. Homeowners often notice dim lawns and slower drying beneath the canopy.
Too many people mistake heavy thinning for solving the problem without considering balance. Over-thinning removes protective foliage and can stress the tree from sudden light exposure. Proper blending keeps leaf area where the tree needs it and opens channels for air movement instead of removing whole sections. A well-blended crown looks natural and supports long term tree health.
Visible cues often include bright spots of light around the crown edges and deep shadow pockets near branch unions. Professionals inspect limb unions, branch spacing, and the way light filters through the canopy to decide where subtle cuts help most. A careful plan improves sunlight for lower plants and reduces prolonged moisture on inner branches. That reduces conditions that favor disease while preserving a tree’s wind resistance.
Homeowners in Aledo, TX and Mansfield, TX may notice these problems sooner on compact lots or shaded yards. Local properties with tight spacing between trees and structures see the effects on lawns, patios, and outdoor comfort. If airflow and even light matter for your landscape, crown gap smoothing offers a targeted solution without over-thinning. Consider a professional inspection to diagnose specific crown imbalance and recommend corrective cuts.
What Crown Gap Smoothing Actually Means
Crown gap smoothing means blending uneven openings in a tree crown with precise cuts to improve light and airflow. Homeowners often ask if smoothing removes large limbs, the answer is no, it uses selective small cuts. Professionals aim to keep the tree’s protective foliage while opening pathways for sun and wind. This approach reduces wet interior leaves without exposing the tree to sudden full-sun shock.
- Identify bright or dark patches in the canopy.
- Look for branch clusters that create sealed pockets.
- Target crossing or crowded twigs for minor removal.
- Preserve lateral branches that shade inner shoots.
Technically, smoothing focuses on gradual transitions between gaps rather than creating uniform holes. A common homeowner question asks whether this weakens the tree, and the professional answer is that careful, incremental cuts preserve strength. Inspectors check branch unions, crotch angles, and canopy density before cutting. Those checks guide which small cuts improve balance without removing whole sections.
Diagnosis often begins with a walk around the tree to view light patterns through the canopy at different times. Professionals will use hand-pruners, pole saws, and a visual inspection to mark blending cuts before any work. For touch-up work after an initial smoothing, see the resource on crown touch up for typical follow-up steps. In Aledo, TX and Mansfield, TX properties, compact yards make these subtle corrections especially valuable for lawn and patio light.
Why Uneven Gaps Happen In Tree Crowns
Uneven gaps often start with how the tree originally grew in response to light and obstacles. Young branches bend toward open sky while shaded shoots stay short, creating irregular spacing as the tree matures. Past pruning that favored straight scaffold limbs can leave dense pockets where smaller branches filled the void. Wind and storm damage also remove select limbs, leaving asymmetrical openings that later fill unevenly with new growth.
Competition between neighboring branches causes tight clusters and shallow gaps that look natural but block airflow. Where two strong laterals compete, the weaker one may stop growing and create a sheltered pocket underneath. Suckers and epicormic shoots from trunk wounds add mass in specific spots instead of evenly distributing foliage. The result is isolated density that traps moisture and reduces air movement through the crown.
Tree species and branch angle affect gap patterns and how easily a canopy blends with small cuts. Species with upright growth tend to form vertical clusters that need lateral thinning to balance light entry. Shallow crotch angles can hold debris and limit drying after rain, which deepens shadowed areas over time. Inspectors check branch spacing, crotch angles, and recent wound flushes to decide where minimal cuts improve transitions.
Professionals diagnose uneven gaps by observing light patterns and testing airflow through the canopy, sometimes referencing canopy airflow strategies like those in canopy airflow boost. They look for visible water retention, dense inner twigs, and asymmetric branch loss from storms. For homeowners in Aledo, TX it’s common to notice shaded lawns under thick pockets, while Mansfield, TX properties may show crowding where trees grow close together. Simple checks with a camera or walking beneath the canopy help confirm where blending cuts will give the best light and airflow improvements.
How Crown Gap Smoothing Improves Light Flow
Blended cuts guide light into specific inner pockets without creating large open holes that stress the tree. Professionals aim cuts toward interior shoots that block sun but do not remove major scaffold branches. They monitor how each cut changes shadow patterns by stepping around the tree and viewing from multiple angles. This incremental approach keeps the canopy’s protective cover while letting beneficial rays reach lower limbs.
Airflow improves when small, targeted removals break stacked layers of twigs that trap humid air after rain. Technicians check branch orientation and leaf density near the wound to predict drying rates and fungal risk reduction. They may use a simple airflow check by standing beneath the canopy and noting how wind moves through before and after cuts. Observed improvements often show faster leaf drying and fewer lingering damp spots on inner branches.
Correct placement of cuts also preserves the tree’s structural balance and wind resistance by keeping lateral supports intact. Pros assess scaffold limbs, crotch angles, and remaining foliage to avoid creating large sail surfaces that increase wind loading. When making a blend, they follow natural branch lines so the canopy edge reads as gradual, not jagged. For tips on shaping the outer boundary while preserving form, consult the resource on canopy edge finesse.
Diagnostic steps include photographing light gaps and recording before-and-after airflow observations to confirm improvements. For example, a homeowner might notice wet interior branches and a slow-drying lawn, then a pro will inspect branch spacing and test airflow after targeted cuts. In Aledo, TX and Mansfield, TX yards where trees sit close to structures, these checks help decide safe cutting limits. If the canopy shows reduced drying or repeated fungal spotting, contact a qualified professional for a careful assessment.

Identifying Warning Signs Of Poor Airflow
Stagnant air under a canopy often shows as lingering dampness on inner branches several hours after rainfall, which can invite fungal growth. Look for concentrated leaf wetness, a musty smell under the tree, or visible mildew on inner foliage. Reduced bird and insect activity in the crown can signal poor airflow and diminished habitat function. These observable signs help prioritize crowns that need targeted blending rather than wholesale thinning.
- Inner branches stay wet long after the rain stops.
- Leaves show mildew or early leaf spot symptoms.
- Lower limbs have sparse new growth compared to the crown edge.
- Wind seems blocked when standing beneath the canopy.
Professionals diagnose poor airflow by walking around the tree and noting wind movement at multiple positions and heights. They inspect scaffold limbs, crotch angles, and twig density, using a camera and moisture checks when needed. A simple handheld airflow check helps confirm whether small, strategic cuts will open channels without over-thinning. For shaping that balances form and function, review the guidance on crown shaping for practical approaches.
For homeowners in Aledo, TX and Mansfield, TX, tight property lines often worsen airflow issues and make early detection important. If inner branches repeatedly hold moisture despite minor pruning, a professional assessment is wise to avoid structural or disease problems. Technicians will measure branch spacing and recommend incremental blending cuts that promote drying and light penetration. When you notice persistent damp pockets or mildew, schedule an inspection before problems spread further.
Techniques For Blending Gaps Without Over Thinning
Start with small selective cuts to soften abrupt gaps while preserving leaf area that shades sensitive inner branches. Work from the outside inward, removing short twig clusters and water sprouts that block airflow without cutting major scaffold limbs. Make clean cuts just outside the branch collar to promote proper healing and reduce decay risk. A handheld pruning saw, bypass pruners, and pole saw help reach higher blends with minimal bark damage.
Balance is key: remove material in multiple locations around the crown instead of opening one large hole that exposes inner foliage. Rotate your viewing angle after each set of cuts to check light transition and airflow changes from different sides of the tree. If drying does not improve after a few minor passes, pause and reassess rather than continue making larger cuts. Professionals often document changes with photos and notes to guide further work safely.
For crowns that need targeted density reduction near the edge, consider a light canopy thinning that keeps lateral supports intact and reduces twig stacking. This method focuses on selective interior removals to ease wind movement and encourage evaporation without lowering overall leaf area. See recommendations on canopy thinning for typical thinning patterns and follow-up intervals. In yards in Aledo, TX homeowners often prefer this cautious approach to protect shade while improving tree health.
When blending near structural unions, avoid cutting competing scaffold limbs at once because that can shift loads and increase failure risk during storms. Trim smaller interfering branches first and leave at least one strong lateral to retain wind resistance and support. Inspect cuts later for callus formation and any signs of decay using photos or recorded observations. For properties in Mansfield, TX with close tree spacing, staged blending over a few seasons prevents sudden exposure stress and keeps form natural.
When To Call A Professional For Crown Gap Smoothing
Call a professional when symptoms suggest structural risk or when previous pruning has left unclear targets for blending cuts. Visible cracks, heavy decay around a union, or recent storm damage increase the chance of making a harmful cut. A trained arborist evaluates scaffold limbs, crotch angles, and hidden decay before any smoothing work begins. If you see these signs, arrange an inspection rather than attempting larger cuts yourself.
Professionals use diagnostic steps that a homeowner cannot easily perform with basic tools. They may use a moisture meter, inspect branch collars, and test limb flexibility to detect internal weakness. A written assessment often documents which small cuts will improve airflow without reducing wind resistance. That documentation helps plan staged work over seasons to avoid sudden exposure stress.
Call a pro when trees sit close to structures, utilities, or heavy traffic where a mistaken cut could create hazards. In Aledo, TX properties with tight yards, blending can change load patterns and require careful staging to protect roofs and fences. Technicians coordinate removal sequences and may suggest crown adjustments that keep lateral supports while easing airflow. When public safety or property risk exists, leave decisions to trained crews.
If the problem includes repeated fungal outbreaks or persistent inner wetness despite home pruning, bring in a professional for diagnosis. They will inspect twig density, look for fruiting bodies, and recommend targeted smoothing or disease management. Professionals may combine blending with selective branch removal on different seasons to let the tree adjust slowly. This approach reduces repeated wet pockets while preserving canopy function.
Ask for an explanation of how they will confirm success after work, including before-and-after photos and simple airflow checks. Some crews use methods like the skyline windowing method when safe access and structural concerns require precise cuts. A good plan includes follow-up visits to monitor callus formation and drying rates within the crown. Schedule a professional inspection when safety, structure, or recurring moisture problems exceed basic DIY steps.
Preventive Pruning To Keep Gaps Even Over Time
Regular, light pruning cycles prevent uneven gaps from reappearing by removing fast-growing shoots before they cluster. Schedule inspections every 12 to 24 months to catch new water sprouts and epicormic growth early. A professional can show you which minor removals maintain canopy balance without exposing inner branches. This steady approach keeps light and airflow stable as the tree matures.
- Remove water sprouts when small.
- Trim epicormic shoots at the base.
- Thin twig clusters gradually.
- Maintain one strong lateral per scaffold.
When planning cycles, vary the pruning locations each visit to avoid sudden exposure on one side of the crown. Use selective branch thinning methods to keep the canopy edge consistent while easing interior density. For targeted reduction of twig stacking and minor density, consider professional branch thinning on a scheduled basis. That technique preserves protective foliage while promoting steady airflow.
Homeowners in Aledo, TX should note rapid shoot flushes after wet springs and prune early to prevent dense pockets. In Mansfield, TX properties with close trees, staged pruning over seasons reduces stress and avoids creating weak wind-facing faces. Keep records of dates and photos so professionals can track response to pruning and adjust future plans. If pruning reveals decay or structural concerns, contact a professional for a safety assessment.
Homeowner Steps For Safe DIY Gap Smoothing
Start by assessing safety: check for overhead wires, unstable limbs, and footing before any cutting. Use eye protection, gloves, and long-handled pruning tools for reach without climbing. If a limb looks rotten or cracks under pressure, stop and consult a professional. For basic smoothing, limit cuts to small twigs and minor branches to avoid sudden exposure stress.
Mark target branches with a non-permanent flag or chalk so you cut only planned pieces and keep symmetry. Stand back frequently and view the canopy from multiple angles to confirm light and airflow changes. Work incrementally, removing small amounts from several locations rather than one large opening. Pause after each round of cuts to let the tree adjust visually before proceeding.
Use proper cutting technique: make clean cuts just outside the branch collar to promote callus growth and reduce decay risk. For branches beyond hand reach, use a pole saw with controlled, short strokes to keep cuts precise. Keep a camera to record before-and-after photos for later comparison and to show progress to any hired arborist. If you notice new cracks or declining branch health after cuts, arrange a professional inspection.
Time your work for dry weather and moderate temperatures to reduce fungal risk and improve healing. For homeowners in Aledo, TX, choose mornings when sap flow is lower to limit bleeding on certain species. If smoothing near houses or over patios, remove cut material promptly to prevent debris hazards and inspect nearby structures for impact. When DIY work feels risky or the tree shows structural issues, consider a professional crown tuning visit such as an arbor crown tune.
Frequently Asked Questions
What is crown gap smoothing and when is it needed?
Crown gap smoothing is the selective blending of uneven canopy openings to equalize light and airflow across the tree crown. Technicians make precise cuts to small limbs and branch junctions so gaps match without over-thinning the canopy. You need it when uneven light causes sparse growth, dense shade pockets, or concentrated wind loads on one side of the tree. Work at height and near power lines carries risk, so hire a professional for safe diagnosis and corrective pruning.
How does crown gap smoothing differ from heavy thinning?
Crown gap smoothing targets small uneven gaps with precise selective cuts to balance light and airflow without removing major live branches. Heavy thinning removes many inner branches and large limbs, opening the entire canopy and increasing stress and sun exposure. Smoothing focuses on feathering edges and blending adjacent gaps, preserving branch structure and reducing wound surface area. If cuts reach large limbs or the tree shows decay, proceed with caution and hire a professional to avoid safety and health risks.
How can I spot poor airflow or lingering moisture?
Look for areas under the canopy that stay damp after rain and areas with moldy or musty smells indicating poor airflow. Notice branches that hold leaves or needles creating dense patches that block light and trap moisture. A professional will inspect crown gap smoothing opportunities, measure leaf density, and check branch spacing and moisture readings. If you see rot, fungal growth, or persistent wet spots, exercise caution and call a qualified arborist to assess and correct the problem.
What inspection steps will a pro use to diagnose gaps?
A pro starts with a visual survey from the ground, noting uneven light patches, dense foliage, and branch crossings.
They then climb or use binoculars to inspect crown gaps, assessing branch attachment, dieback, and trunk stability.
Measured checks include gap widths, branch diameters, and canopy density using a tape and pruning pole for planning Crown gap smoothing.
If the tree shows rot, tight unions, or loose limbs, the pro will caution the homeowner and recommend a professional arborist for safe work.
How often should crown gap smoothing be repeated?
Most trees need crown gap smoothing every 2 to 4 years depending on growth rate and species. Fast-growing trees may require annual checks to prevent new uneven gaps from forming. If cuts approach structural limbs or signs of disease appear, stop work and contact a professional for assessment. Always exercise caution near power lines and recommend hiring a trained arborist for risky or high pruning tasks.